

To seal an oil pan leak from the outside, clean the area, apply high-temp RTV silicone sealant to the leak source, and let it cure fully. This quick fix works for minor leaks, but major issues may need a new gasket or professional repair for lasting results.
Fiex seal for oil leak
Flex Seal isn't a reliable fix for oil leaks due to heat and pressure. It might offer a short-term seal for tiny leaks, but oil can break down its rubber coating. Proper repair involves finding the leak's source, like a bad gasket or cracked part. These need replacing for a lasting solution. Temporary fixes like stop-leak additives or epoxy exist, but a mechanic should do a proper repair afterward.
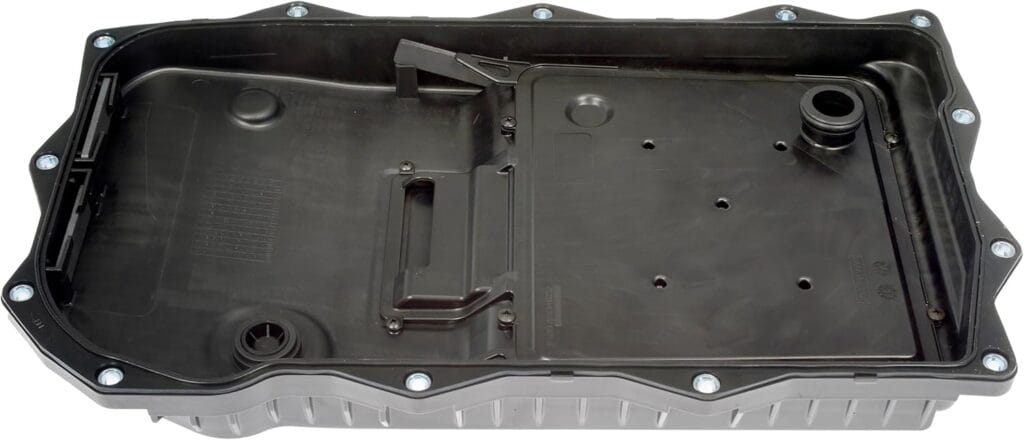
Dorman 265-850 Transmission Pan With Drain Plug, Gasket And Bolts Compatible with Select Models (OE FIX)
Why Oil Pans Leak in the First Place: It's Physics

First, a quick rant. Over time, the gasket between your oil pan and the engine wears out. It's a slow, inevitable process.
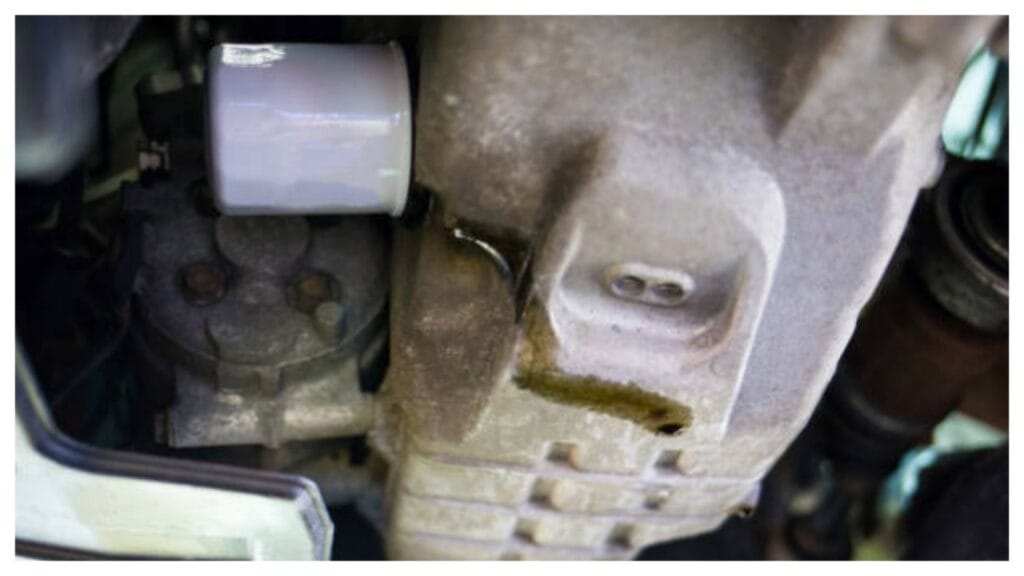
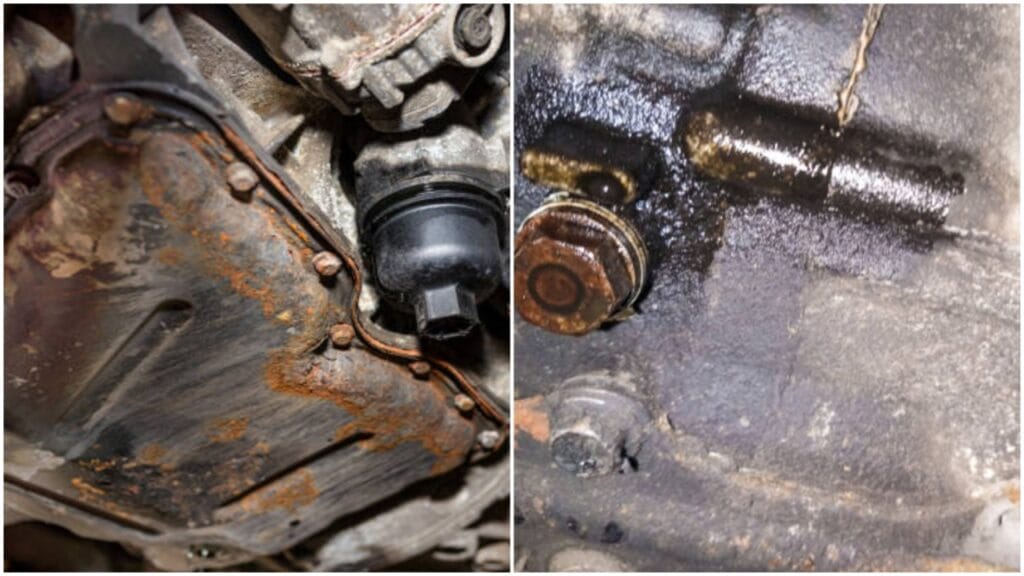
You're driving around with hundreds of pounds of metal and fuel. A piece of rubber holds everything together. Over the years, this rubber gets baked, squished, and torn.
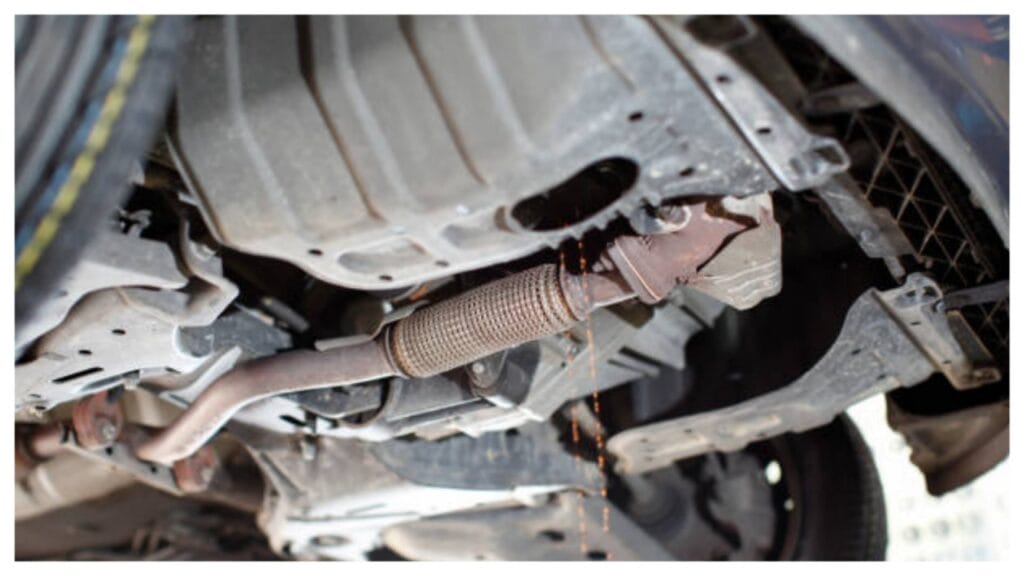
It's not the gasket's fault at all. Sometimes, the pan gets a ding, or worse, corrosion, and decides to move in and set up shop. Either way, the result is the same: oil leaks, and you're about to get your hands dirty.
The Real Deal with Sealing from the Outside: Does It Work?
Sealing from the outside will always be better than a complete repair. It's like putting a bandage on a bullet wound. If you can't properly fix it, seal it from the outside. This approach can take some time, but it can last quite a while when it's done right.
Oil prefers to stay where it's supposed to. It's slippery and stubborn, and as soon as there's a way out, it's taking it. Sealing it up requires a little finesse and a suitable material.
Getting Prepared: What You'll Need
Please don't slap duct tape on your oil pan. Let's discuss the proper tools for this job. The goal is to create a temporary seal that will withstand heat and pressure and be resistant to oil itself.
You'll need a sealant. It must bond to metal and rubber, be resistant to oil, and withstand the heat your engine produces.
Silicone sealants are a good choice, specifically those designed for high temperatures. But don't just grab any old tube from your garage – ensure it's right. You want something that explicitly says "oil-resistant" and "high-temp."
You also want to have some cleaner or degreaser on hand. Oil pan leaks are a messy business. If you try to seal over a bunch of oil and grime, you're asking it to fail.
Step-by-Step: How to Seal That Leak
Here's how to stop that leak without removing the whole oil pan.
Step One: Clean the Area
The first thing you need to do is clean the area around the leak. Oil is excellent at doing its job inside the engine, but it's nothing but trouble once it's outside.
Take some degreaser and thoroughly clean the leaking spot and the surrounding area. You don't want any oil residue lingering, as that will mess with the seal.
This step takes a while because oil doesn't just sit still. It's spread itself around a good bit. Scrub it thoroughly as if preparing for a car show. I assume your oil pan has seen better days.
Step Two: Dry It Like You Mean It
Now that you've cleaned the area, it's time to dry it. Oil will be your worst enemy again if it starts creeping back into the picture while you're trying to seal.
Grab a clean towel or rags and wipe off every last drop of moisture and leftover oil from that surface. Leave it for a while to ensure it's scorched.
Step Three: Apply the Sealant
Take your sealant and apply a generous amount over the leak. If you want to cover the entire area, feel free to go beyond it.
The last thing you want to do is seal the immediate leak. This action leaves a thin spot nearby where oil can find another escape route.
Use a tool or your finger (gloves are recommended!) to smooth out the sealant and ensure it's pressed firmly against the pan. You're trying to create a durable bond here, so take your time with the coverage.
Step Four: Let It Cure
This is the most frustrating part – waiting for the sealant to cure. Depending on your product, this can take a few hours to a full day.
Don't rush it. Let it dry completely before you start your engine. If you drive before the sealant has fully set, you risk breaking the seal, and all your work will be for nothing.
Does This Fix Last Forever? Not a Chance
Sealing an oil pan leak from the outside is a temporary fix at best. The heat from your engine will eventually break down the seal. The constant pressure of the oil and just the wear and tear of driving will also contribute to this.
If you're in a bind, this method can be a lifesaver. It is beneficial if you need to get through a few more weeks. It can also be helpful for months before tackling a complete repair.
Check the area regularly for signs that the seal is starting to give out. If you notice oil leaking again, reapply the sealant. Even better, get that oil pan adequately repaired.
When to Say Goodbye to the Temporary Fix and Get Serious
You knew this was coming: eventually, you'd have to bite the bullet and fix the problem correctly. That means dropping the pan, replacing the gasket, or even replacing the pan if it's damaged beyond repair.
But here's the thing – knowing when to transition from temporary to permanent is critical. If your oil pan leak is minor, the outside seal can last long enough for you to get by. The car isn't spewing oil like a fire hydrant.
But if you find yourself reapplying sealant every few days or the leak worsens, it's no longer a matter of convenience. You're risking severe engine damage, which will cost much more than a simple oil pan repair.
A Few Final Thoughts
So, there you have it. Sealing an oil pan leak from the outside isn't a magic bullet. However, it's also more plausible than some people make it out to be.
You can patch things up with suitable materials. Patience is required. This way, you buy yourself some time.
But here's the truth: cars don't reward procrastination like most things. You can get away with an outside seal for a while. However, it's eventually going to come back to bite you.
So, if you will use this method, do it wisely. Treat it as a temporary measure and make plans for a more permanent solution down the road.
Conclusion
In conclusion, addressing an oil pan gasket leak is essential to avoid long-term engine damage, whether in a Chevy or a Freightliner Cascadia.
While temporary fixes, such as using stop-leak additives or tightening bolts, are available, they only offer a short-term solution.
The proper fix is to replace the gasket, which can be costly due to labor, especially in larger vehicles.
Common FAQ
To seal a cracked oil pan, clean the area with degreaser, ensuring it’s dry and oil-free. Apply high-temperature RTV silicone or automotive epoxy sealant evenly over the crack, following the manufacturer's instructions. Allow 24 hours for curing. Small cracks can be fixed this way, but larger ones may need welding or pan replacement. Always consult the vehicle’s manual and prioritize safety. Monitor for leaks after repair.
Flex Seal may temporarily patch minor oil pan cracks if cleaned well, but automotive RTV silicone or epoxy is better for lasting repairs. Large cracks need professional fixing or replacement.
Clean the oil pan and mating surface thoroughly. Apply high-temp RTV gasket maker evenly. Align and torque bolts to spec. Let the seal cure before adding oil or starting the engine.