

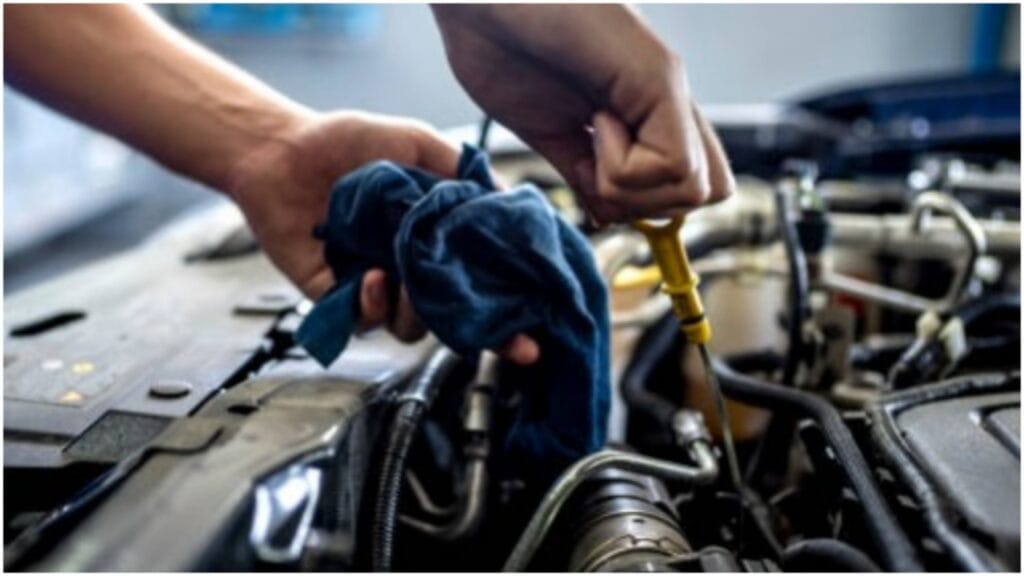
Removing engine oil through the dipstick is a clever way to avoid the hassle and effort that comes with this, as it is designed for this purpose. Make sure your car’s engine is warm but not hot. This helps the oil flow quickly. Open the hood and locate the dipstick. Pull it out and clean it with a cloth.
Insert the thin pump tube into the dipstick tube until you feel it reach the bottom of the oil pan. Attach the other end of the pump and start draining. Pump or activate it slowly, depending on the type of device. The oil will begin to flow into the pump container.
Keep an eye on the flow and continue until no more oil comes out. Once done, carefully remove the tube and clean up any drips. For more details, read the following section carefully.
What’s the Deal with the Dipstick Tube Anyway?

This won’t replace a complete oil change, but the dipstick is a sneaky way to remove or eliminate excess oil after a change quickly. Think of it as a quick fix without dealing with a mess of tools, filters, and a massive puddle of oil under your car.
Why Bother Removing Oil Through the Dipstick Tube?
Here’s where I want to change your thinking. You’re used to the typical oil change method, right? Jacking up your car, removing the drain plug, waiting for the oil to drain out, then putting everything back together. It’s a process. But here’s where removing oil through the dipstick can shine:
Convenience:
If you’re in a pinch and need to remove some excess oil or a little for maintenance, doing it via the dipstick is much faster. There’s no waiting around for the oil to drip out. It’s like fast food for your engine.
Saves Time:
This method is a massive time-saver if you need to top off your oil or eliminate that little extra from overfilling.
How Does It Work?
Now that I’ve got you hooked on the benefits Let’s get to know the process. Spoiler alert: it’s not rocket science but requires some finesse. Here’s the general flow:
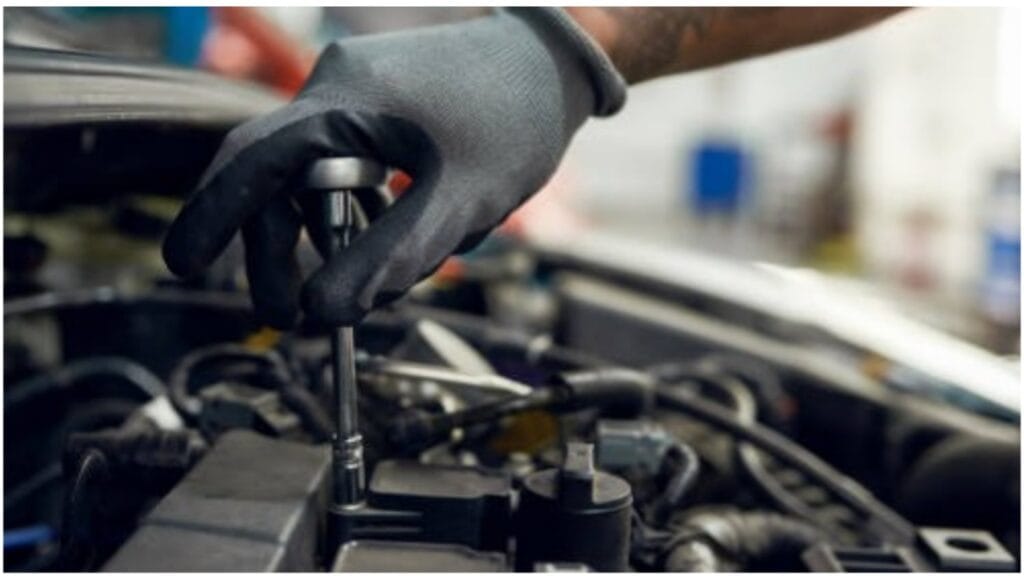
Get the Right Tools:
First off, you’re going to need an oil extractor pump. This small, simple device will pull oil out of the engine via the dipstick tube. There are manual or electric pumps, depending on your budget and preferences.
Warm Up Your Engine:
This is key. If you’re removing oil when the engine is cold, it won’t come out as smoothly. Run your car for a bit to get the oil nice and warm.
Warm oil flows more efficiently, and it’s less likely to leave sludge behind in the engine. So, fire up the engine for a few minutes before you start.
Remove the Dipstick:
The next step is straightforward: Pull out the dipstick, clean it, and set it aside for a moment.
Insert the Extraction Tube:
Take the small tube from the oil extractor pump and carefully insert it into the dipstick tube. Be gentle with this. The tube should slide in with minimal resistance.
Pump the Oil Out:
Start the extractor pump and watch the oil flow through the tube. Depending on how much oil you remove, drain slowly into the extractor’s container, which might take a few minutes.
Dispose of the Oil Properly:
Once the oil is extracted, dispose of it correctly. Please take it to an auto shop or a recycling facility. Never dump it down the drain.
When Should You Use This Method?
Removing oil through the dipstick is excellent, but it’s not the be-all and end-all. It’s more of a sidekick to the entire oil change routine. You’ll want to use this method when:
You’ve Overfilled Your Engine:
You might put in too much oil. If that happens, it’s best to remove the excess. Too much oil can cause high-pressure buildup, which isn’t suitable for your engine in the long run.
You Need to Top Off:
Pulling some oil out via the dipstick is a clean way to top off oil if you don’t want to undergo a complete oil change.
Quick Draining for Maintenance:
This method will save you time and hassle if you remove some oil for maintenance, like some old oil, before a complete oil change.
Things to Keep in Mind
While this method is an excellent shortcut in some situations, it’s not foolproof. Here are a few things you need to consider:
It’s Not a Full Oil Change:
You’re not changing the filter or addressing the gunk accumulating in the oil. This method involves removing excess oil or doing a quick maintenance drain. Please don’t rely on it as a substitute for a complete oil change when needed.
Some Engines Don’t Work Well with This Method:
Some engines are designed to make extracting oil through the dipstick more complicated (or impossible).
Oil Extractors Aren’t Perfect:
While these pumps work well, they can’t permanently remove every last drop of oil. If you plan on doing a complete oil change soon, you’ll still need to drain the engine from the bottom to get everything.
FAQ’s
How to remove a stuck oil filter with a screwdriver?
Start by ensuring the engine is cool so you don’t burn yourself. Grab a long, sturdy screwdriver with a thick shaft for better leverage. Insert the screwdriver into the metal casing of the filter, preferably at an angle where it’s secure.
Push the screwdriver in firmly but carefully so it doesn’t slip. Once it’s in, you’re ready to twist. Use the screwdriver like a lever and turn the filter counterclockwise. Apply consistent, even pressure. It’s a back-and-forth motion, so don’t expect it to budge immediately.
If the filter still resists, lightly tap the screwdriver’s handle with a hammer to break the seal. This can help loosen it without damaging the engine. Be patient—sometimes filters get stuck from overtightening during the last oil change. If the filter starts to move, keep turning until it comes off.
Always have a pan underneath to catch any remaining oil. Once removed, wipe the area clean before installing the new filter. This method is quick and effective and doesn’t require fancy tools, but be cautious not to damage the oil filter threads or surrounding components.
How do you change oil in a fluid extractor?
Changing oil with a fluid extractor is straightforward once you get the hang of it. First, ensure your engine is warm but not too hot—this helps the oil flow better. Then, park your car on a flat surface and turn off the engine.
Next, remove the dipstick and insert the extractor’s tube into the dipstick tube, pushing it down to the oil pan. Secure the extractor to avoid spills, and start the pump. The pump will begin to suck the oil out of the engine. Depending on your extractor, this might take a few minutes.
Watch the oil as it drains into the extractor’s container. Once the oil flow stops, remove the tube carefully and dispose of the old oil properly. Be sure to check the oil levels to ensure you’ve removed enough. After that, replace the dipstick and add fresh oil through the oil fill cap, checking the level as you go.
Tool to remove stripped oil drain plug?
One of the best options is a drain plug extractor tool. It’s explicitly designed to grip and remove stripped or damaged plugs. These tools typically have a reverse thread that digs into the plug as you turn it counterclockwise.
Another option is a socket wrench set with a damaged plug removal socket. These sockets have a unique design that allows them to grip onto the edges of a rounded or stripped plug. If you don’t have one, you could use pliers or vice grips to get a better grip on the plug and twist it loose.
If those don’t work, drilling the plug slightly with a metal bit and using an easy-out extractor kit could be your last resort. Just be careful not to damage the threads in the oil pan, as that can cause further issues. Once the plug is out, always replace it with a new one to avoid future stripping.
How to remove oil drain plug with stripped head?
If the oil drain plug has a stripped head, there are a few ways to remove it. First, try using vice grips or pliers to grip the edges of the plug. Clamp them tightly and twist counterclockwise. If that doesn’t work, try a socket with a damaged plug removal kit.
These sockets are designed to grip onto rounded or stripped heads. Another option is a drill with a tiny metal bit to create a hole in the plug’s center, which makes using an easy-out extractor tool easier. The easy-out is a reverse-threaded tool grips the plug as you turn it counterclockwise.
If you don’t have those tools, sometimes you can use a hammer and a chisel to tap the edges of the plug and turn it loose. Be sure to proceed carefully so you don’t damage the threads in the oil pan. Once the plug is removed, replace it with a new one to avoid future issues.
Conclusion
It’s a simple trick that can save you time, effort, and messiness. So, next time you’re dealing with oil issues, don’t forget about the dipstick tube—it could make your life much easier. Just remember, this isn’t a replacement for the entire oil change process, but as a quick fix, it can work wonders.