

To test an AC system, you'll need a vacuum pump and a set of AC gauges. First, connect the gauges to the setup's low- and high-pressure ports, then hook up the vacuum pump. Once everything is connected, start the pump. Let it run for about 30-45 minutes. This will pull all the air and moisture out of the setup.
Watch the gauges to make sure they hold a vacuum. If the pressure rises after turning off the pump, it indicates a leak. If the equipment maintains the vacuum, it can be recharged with refrigerant.
The vacuum test is crucial. It ensures there's no moisture or leaks that affect performance. This prevents damage to your AC in the long run. It's a simple process but key for keeping your AC system efficient. So, let's dive into how to vacuum test your AC system and, more importantly, why it matters.
Why You Need to Vacuum Test Your AC
It's sealed up tight and relies on everything inside to stay pristine. There is no air or moisture; the refrigerant is doing its job. The moment air or moisture sneaks in, though, you're looking at a recipe for disaster.
Moisture, for instance, can freeze and block the flow of refrigerant. That's something you want to avoid messing around with. Then there's air. It can take up space where your refrigerant should be. This makes your system work harder to give you lukewarm air.
Vacuum testing ensures that your system is airtight and moisture-free. It's the step you take before charging your AC with refrigerant. Skip it, and you will later face a costly, frustrating repair job.
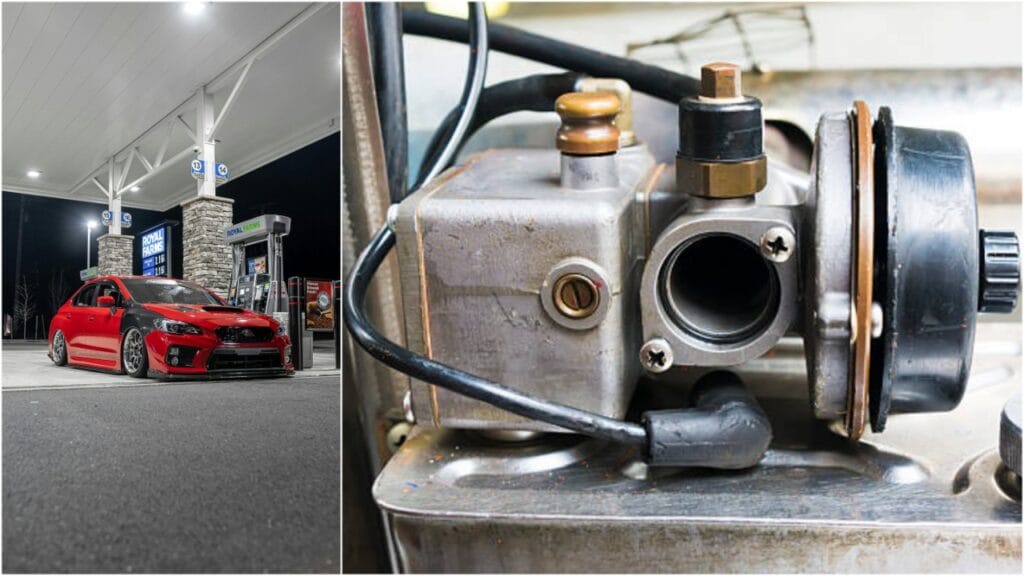
Gathering Your Tools (Hint: You Need a Vacuum Pump)

Before we even get into the nitty-gritty, let's talk tools. There's no getting around it—you need a vacuum pump. You also need a set of AC gauges. Both are easy to get your hands on if you're a DIY-er.
Aside from these two essentials, you'll also want a clean, flat surface to work on. It's important to prevent dirt or grime from getting into it while working. Keeping things clean is more than just a matter of preference. It is essential to ensure you don't introduce any unwanted debris into the mechanism.
Step One: Connecting the Gauges
Once you've laid everything out, it's time to start connecting things. Your AC system has two ports: one for high pressure and one for low pressure. The gauges will come with two hoses—red for high pressure and blue for low pressure.
The first time I did this, I was surprised by how easy it was to connect the hoses. Just pop them onto their respective ports and make sure they're snug. You'll double-check that everything's connected properly before moving ahead.
Step Two: Attaching the Vacuum Pump
Attaching the vacuum pump. The yellow hose on your gauges will hook up to the vacuum pump. Once it's all connected, you're ready to power things up. Now, before you flip the switch, take a deep breath.
You're about to pull all the air and moisture out of your system, and that's a big deal. I kept thinking, "What if I mess something up?" But honestly, it's hard to mess up. The vacuum pump is going to do most of the work for you.
Step Three: Running the Pump
Once the vacuum pump runs, the pressure on your gauges drops. It is being pulled into a vacuum, which means all the air and moisture is getting sucked out. You'll want to let the pump run for 30-45 minutes to ensure everything is completely removed.
Don't rush this part. Let the pump run longer for a better chance of getting rid of air. This also helps remove every last bit of moisture.
Step Four: Watching for Leaks
After your pump has done its job, it's time to turn it off. Then, see if your system holds the vacuum. What you're looking for is stability. If the pressure holds steady and doesn't rise, congratulations—you have a sealed system!
Step Five: Fixing Leaks
If your system doesn't hold a vacuum, don't panic. Leaks can happen for many reasons, including a loose connection or a faulty seal. Start by checking your fittings and hoses to make sure everything is tight. Sometimes, it takes a little tweak to get things sealed up properly.
If tightening everything up doesn't work, you must get deeper into the mechanism. Check for faulty o-rings. There may even be a damaged part. It's one of those moments where patience pays off. Fixing the leak now will save you from much bigger problems.
Ready for Recharge
Once you've confirmed that your system is leak-free, you're ready for the final step: recharging with refrigerant. You can breathe easier because the hard part is behind you.
Final Thoughts: Don't Skip the Vacuum Test

It's tempting to skip steps when you're doing car repairs. This is especially true if you're hurrying to get things working again. But when it comes to your AC system, skipping the vacuum test is a mistake you want to avoid.
It is essential to ensure your system is free of leaks and that no moisture is inside. Moisture can turn into a bigger problem later.
Let's explore why this step matters a bit more. We will explore the mechanics process and what can go wrong if ignored.
What Exactly Happens Inside the AC System?
Your car's AC system is a closed loop designed to circulate refrigerant under pressure. The refrigerant travels through various components, absorbing heat from the cabin and releasing it outside. This process involves converting between liquid and gas phases.
Air and moisture are enemies of this process. Air takes up space that should be reserved for refrigerant, reducing the cooling process's efficiency.
Meanwhile, moisture can freeze inside the unit, leading to blockages or even part failure. That's why performing a vacuum test is crucial. It gives your AC system a clean slate. This ensures nothing unwanted is left inside.
The Role of the Vacuum Pump
Pulling a vacuum on the setup means you're not just removing air. The pressure drop causes any moisture to evaporate at a lower temperature. This process allows the moisture to be sucked out as well. This is crucial. Even a tiny amount of moisture can lead to problems down the road. These include corrosion or the freezing of the expansion valve.
The vacuum pump creates a low-pressure environment where contaminants like moisture can't survive. It's not just about the physical removal act; it's about making the right conditions. These conditions guarantee that every last bit of unwanted air or moisture is gone.
Why the 30-45 Minute Wait?

That 30-45-minute window while the vacuum pump runs seems long, but there's a reason for it. A fast, rushed job must pull more of a vacuum to clear the setup entirely.
This step isn't just about time. It's about allowing enough vacuum pressure to develop and be sustained. This process gives the moisture and air enough time to be entirely removed.
One thing I've learned is patience is key. It's better to let the pump run a little longer than needed. Avoid cutting it short. Otherwise, you end up with a half-vacuumed system.
And remember: once the vacuum pump is off, check the gauges to keep the pressure steady. Continue checking for another 15-20 minutes. If there's a slow creep upward, you've got a small leak somewhere.
Leaks: The Ghost in the Machine
Speaking of leaks, let's discuss what you find when you vacuum test your AC system. A small leak can often go unnoticed during regular operation because the pressure inside the setup is balanced.
When you create a vacuum, you test the setup in a low-pressure environment. Even the tiniest crack or lousy seal can reveal itself.
Some familiar places where leaks happen include:
- Hoses and fittings: These can wear down over time, especially if exposed to harsh weather or physical damage.
- O-rings and seals: These tiny components are essential for keeping connections airtight, but they can crack or deteriorate with age.
- Compressor and evaporator: These major components can develop leaks, although this is less common. Still, if a compressor seal fails, it can lead to costly repairs.
If you find a leak, fixing it before proceeding with the refrigerant recharge is critical. Charging a system with a leak will waste refrigerant and cause more significant problems. The refrigerant will leak out, and moisture will sneak in.
How to Spot Leaks After Vacuum Testing
If the vacuum test shows that you've got a leak, don't panic. Using a leak detection kit is one easy way to pinpoint where the leak is coming from. These kits usually come with a special UV dye that you can add to the setup.
The dye circulates throughout the network. You then use a UV light to check the fittings, hoses, and components. Look for any signs of a glowing trail. This method is beneficial if the leak is small or hard to locate with the naked eye.
Electronic leak detectors can also "sniff" for refrigerant leaks. These devices are susceptible and can pick up even trace amounts of escaping refrigerant, making them an excellent tool for diagnosing hidden leaks.
What Happens If You Skip the Vacuum Test?
I can't stress enough how important this test is. If you skip it, a few things can go wrong:
- System Efficiency Drops: Even a tiny amount of air or moisture can make it less efficient. The air conditioning struggles to reach the cool temperatures you want, or it takes longer to cool down the cabin.
- Corrosion: Moisture inside the setup can react with the refrigerant and other materials, leading to rust and corrosion. Over time, this can cause internal damage, leading to leaks, reduced performance, or even total system failure.
- Ice Blockages: Moisture can freeze inside the expansion valve or other unit parts. This blockage impedes refrigerant flow. As a result, the AC system works harder or stops functioning altogether. This is particularly problematic in hot climates where it is already under a lot of strain.
- Shortened Part Life: Air and moisture don't just affect performance—they can shorten the lifespan of critical components like the compressor. It isn't cheap to replace a compressor. If you can avoid it with a simple vacuum test, it's well worth the effort.
The Importance of Regular Maintenance
You're vacuum testing your AC system because you've opened it to replace a part or fix a leak. Regular maintenance checks are essential even if your system seems to be running smoothly. They help catch potential issues early.
Regular maintenance can extend the life of your air conditioning. Clean or replace the cabin air filter regularly. Check the refrigerant levels. Make sure the AC system is free of debris. If you ever have to open the unit for repairs, always remember to do a vacuum test before recharging it.
Conclusion
Maintaining a vacuum pressure of around 500 microns or less is essential to guarantee a leak-free setup in automotive applications. Ideally, a steady reading between 200 and 300 microns confirms that the system is sealed well and free from moisture, air, or contaminants that can cause performance issues.
If the pressure holds without rising, you've achieved a solid vacuum and can be confident in its integrity. However, any increase in microns indicates a potential leak, requiring further inspection. Keeping these low micron levels ensures its effectiveness and reliability over time.
Common FAQ's
Vacuum testing your car AC? Run the pump 30-45 minutes to yank out air and moisture - standard for most vehicles. Hit 500 microns or lower, then hold steady 15-30 mins post-pump. No rise? Leak-free and recharge-ready. Rushing risks ice blocks and compressor death.
A good AC vacuum hits 500 microns or lower - boils off moisture, boots air for peak efficiency. Ideal? 250 microns. Hold steady 15-30 mins post-pump; no rise means leak-free, recharge-ready. Skip it, risk ice blocks and compressor doom.
No leaks? Steady vacuum at 500 microns or below (ideal 200-300) for 15-30 mins post-pump - no rise means airtight, dry system ready for recharge. Climb signals leak; hunt O-rings or fittings. Skip this, invite corrosion and ice blocks.