

Vacuum leaks continue to top the list of drivability complaints on Dodge and Ram vehicles. From Rams to Chargers, Durangos, and Challengers, a single failing hose or cracked connection throws off the air - fuel ratio, sets lean codes, and turns a strong - running engine into one that hesitates, idles poorly, or burns extra fuel. Over the years working on these platforms, I've seen the same patterns repeat: owners chase sensors or injectors when the real issue hides in plain sight within the vacuum system.
This in - depth guide builds on the fundamentals with expanded diagnostics, real-world failure modes, and proven fixes. The foundation stays simple - always begin with the VECI label under the hood. That sticker delivers the emission-specific vacuum routing tailored to your vehicle's year, engine family, and calibration code. If it's illegible from age or heat, reference service manuals or model-year-specific data, but treat the original VECI as authoritative for emissions compliance and accurate hose paths.
Expanded Symptoms and OBD-II Code Analysis
Classic vacuum leak signs include rough or hunting idle, audible hissing from the engine bay, surging RPM at stoplights, hard brake pedal feel, reduced acceleration response, and noticeably worse fuel economy. Lean codes dominate the scan tool readout.
- P0171 (System Too Lean – Bank 1) and P0174 (System Too Lean – Bank 2) appear together far more often than separately on V6 and V8 Dodges. This dual-bank lean condition signals unmetered air entering downstream of the mass airflow sensor (MAF). The ECM sees the oxygen sensors reporting lean mixtures and adds fuel via long-term fuel trims, but it can't fully compensate when the leak is large.
- Acceleration hesitation or bogging under load traces back to delayed fuel trim correction from vacuum loss.
- High or unstable idle results from excess air bypassing the throttle plate, forcing the ECM to close the throttle or adjust idle air control excessively.
- In severe cases, lean misfires lead to intake popping or backfiring, especially during decel or light throttle transitions.
These codes rarely stem from faulty O2 sensors alone - the sensors detect the lean condition correctly; the root cause is excess air the MAF never measured. On 5.7 Hemi and 3.6 Pentastar engines, intake manifold gaskets, throttle body base seals, PCV system faults, and cracked vacuum hoses rank as top culprits.
Detailed Vacuum System Breakdown by Engine

The intake manifold generates vacuum via piston downstroke. Ports and routing differ significantly between engines.
5.7L Hemi (common in Ram 1500/2500)
- Rear large port supplies the brake booster via the thickest hose - highest demand circuit; any restriction here affects pedal feel.
- Multiple small ports feed PCV (often dual on later models for better crankcase ventilation), EVAP purge solenoid, EGR (if equipped), and MAP sensor reference.
- Rear vacuum tree endures constant heat cycling and sees frequent dry-rot or cracking.
- Transmission vent lines may appear loose or disconnected but serve as breathers - never cap them.

3.6L Pentastar (Durango, Charger, Challenger)
- Simpler port layout with PCV integrated into the valve cover, routing a single hose to the intake.
- Purge solenoid connects near the throttle body; these lines chafe easily against brackets or heat shields.
- Intake manifold gaskets fail progressively - warpage from heat cycles allows unmetered air, often without visible external leaks. Symptoms include both - bank lean codes, minor oil seepage at gasket edges, and rough idle that smooths with RPM increase.
Additional circuits across models:
- HVAC mode door actuators (leaks cause persistent defrost or poor temperature control).
- Cruise control servo (older models).
- One-way check valves in booster or purge lines prevent reverse flow - reversing one kills brake assist or sets codes.
Advanced Reading and Testing Procedures
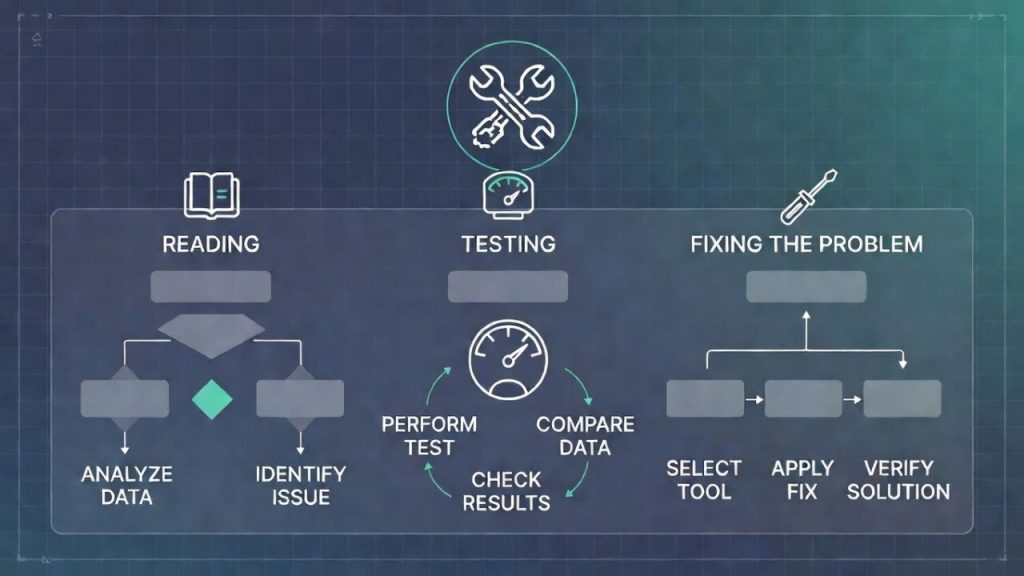
Refine the core 7-step process for faster, more accurate diagnosis:
- Position at the intake manifold vacuum tree - catalog port locations relative to throttle body and cylinder banks.
- Trace the brake booster line first - thickest diameter, greatest vacuum draw.
- Cross - check VECI routing against VIN emissions package - variations exist even within the same year.
- Isolate individual circuits: EGR (solenoid to valve), EVAP (purge to canister under vehicle), PCV (valve cover to manifold).
- Verify one-way check valves - use a hand vacuum pump to confirm flow direction only.
- Scrutinize tees, elbows, and barbed fittings - brittle plastic cracks often hide at radius bends or insertion points.
- Perform segmented vacuum hold tests: Apply 15 – 20 inHg to each circuit and monitor for 30+ seconds. Gradual drop localizes the fault.
Supplemental tests:
- Carb cleaner or starting fluid spray around gaskets, throttle base, and hoses - RPM rise confirms leak (run engine at operating temp, use sparingly to avoid fire risk).
- Propane enrichment (unlit torch or controlled flow) - pass near suspects; RPM increase indicates the engine draws in extra combustible vapor through the leak.
- Smoke testing stands as the gold standard - introduces visible vapor to reveal even tiny breaches in hoses, gaskets, or manifold cracks.
Comprehensive Repair and Upgrade Strategies
Detection priority: Smoke > propane > soapy water > visual/audible inspection.
Replacement execution:
- Measure inner diameter accurately - Dodge specs cluster around 1/8", 5/32", 3/16", and 1/4".
- Cut hose ends square, push fully onto barbs, and secure with mini spring clamps where tension or vibration exists.
- Molded hard plastic lines crack from age/heat - replace affected segments or full assemblies to avoid repeat failures.
Upgrade rationale favors silicone:
- 3-ply or reinforced walls resist collapse under deep vacuum.
- Temperature tolerance exceeds 300°F continuously.
- Ozone, UV, and age resistance far outlast factory rubber.
- Avoid thin - wall silicone - elect thick - wall or reinforced for longevity.
Practical recommendations:
- Assorted kits (1/8" to 3/8" IDs, 10–20 ft total length) handle complete system refreshes.
- Thick-wall options from trusted lines prevent sag during high - demand operation.
- Include barbed tees and quick - disconnects for precise replication of factory routing.
Full upgrade typically runs under $50 and eliminates dry-rot recurrences.
Model-Specific Guidance and Comparisons

5.7L Hemi (Ram 1500/2500 series): Rear manifold ports suffer most from heat soak. Verify both PCV hoses in dual setups. Transmission breathers vent only - leave open.
3.6L Pentastar (Durango/Charger/Challenger): Integrated PCV simplifies hoses but amplifies manifold gasket risks. Chafed purge lines common near brackets. Prioritize smoke testing around the entire manifold assembly.
Older V8 configurations: Extended EVAP runs and secondary air injection add brittle segments - replace proactively.
Common failure comparison:
- 5.7 Hemi: Rear tree dry - rot, booster hose collapse.
- 3.6 Pentastar: Manifold gasket warpage, purge chafing.
- Legacy V8s: Long plastic EVAP lines cracking near exhaust heat.
Expanded Troubleshooting Flow and Additional Failures
Extra frequent issues:
- Intake manifold gasket breaches (triggers both - bank lean codes without obvious hiss).
- Throttle body base gasket seepage.
- Uncapped or loose manifold ports.
- Underbody EVAP line cracks from road debris or flexing.
Updated diagnostic flowchart:
- Dual lean codes + no audible hiss → smoke test manifold and gaskets first.
- Hard brakes overlapping lean codes → inspect booster circuit priority.
- HVAC malfunctions → isolate actuator vacuum paths.
- Persistent issues after hose replacement → check manifold torque specs or gasket integrity.
Molded plastic routing that proves difficult to replicate warrants dealer-level tools or experience.
Proactive Maintenance Protocol
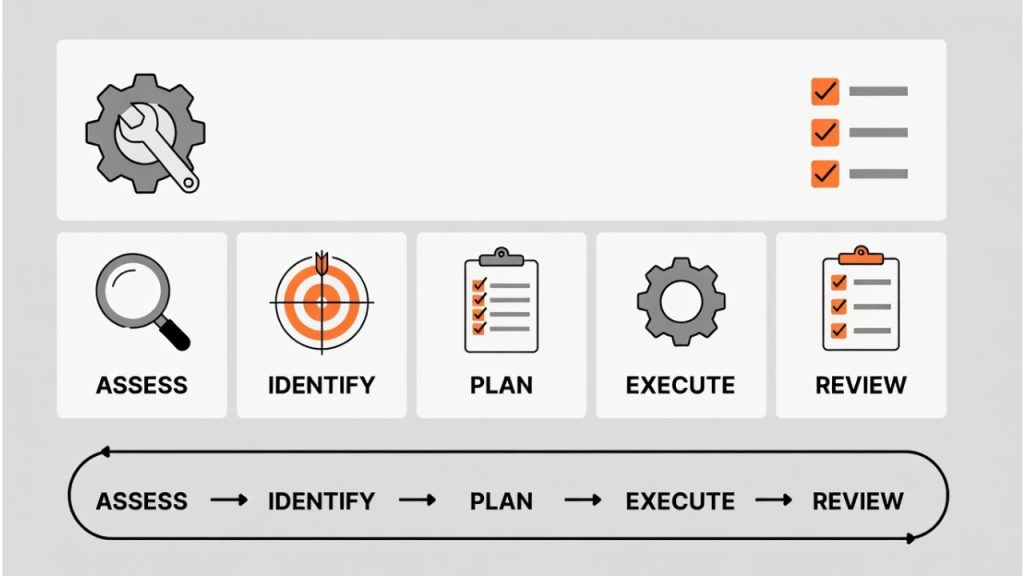
Annual tasks:
- Full visual sweep combined with manual squeeze test for brittleness.
- Inspect vacuum reservoir (ball or canister type) for integrity.
- Clear oil residue from ports to prevent accelerated degradation.
Cost-effective habits: Purchase bulk silicone for custom cuts. Retain reusable OEM tees/connectors. Regular engine bay cleaning minimizes trapped heat and contaminants.
Schedule full hose replacement every 5–7 years regardless of appearance - prevents surprise failures during peak heat or cold.
Conclusion
This detailed resource arms you to diagnose and resolve vacuum issues methodically and confidently. Follow the sequence, prioritize smoke testing when possible, and upgrade to silicone for lasting reliability. If you have your exact year, engine code, and current symptoms or codes, share them for more precise direction. Keep that Dodge running strong.
Common FAQ's
The best central vacuum hose offers superior durability, flexibility, and airflow for effortless cleaning. Choose crush - proof, tangle - free models with smooth bore interiors - top picks include premium 30 - 35 ft kits from brands like Beam or Vacuflo for reliable, long-lasting performance.
The central vacuum electric hose delivers powerful, consistent suction with built - in electric power for motorized brush heads. Opt for durable, flexible 30 - 35 ft models with crush - proof design and smooth airflow - top choices like Electrolux or Nutone offer reliable performance and easy handling.
The Dodge Durango vacuum hose diagram shows routing from the intake manifold to brake booster, PCV valve, EGR, and EVAP systems. Check your VECI label under the hood for the exact year - specific layout - critical for fixing leaks and rough idle issues.

Gerry is a certified automotive expert and founder of AutomotiveAH.com, specializing in vehicle maintenance, diagnostics, and engine systems, delivering trusted, research – driven automotive guidance.