

Is your vehicle shaking, stalling, or consuming excessive fuel? A vacuum leak disrupts the engine’s air-fuel ratio, impairing performance and emissions. Apply carb cleaner or soapy water to locate leaks efficiently. This guide equips DIY mechanics with safe diagnostic and repair techniques.
What Is a Vacuum Leak?
A vacuum leak is when extra air gets into your car’s engine. Engines need a perfect mix of air and fuel to run right. A leak messes up this mix. It can come from cracked hoses, loose fittings, or worn gaskets. This makes your car run poorly, use more gas, and create more pollution.
Signs of a Vacuum Leak
Your car might have a leak if:
- It shakes or vibrates when stopped.
- It stops running on its own.
- The check engine light comes on (codes like P0171 or P0174 show up).
- You need to buy gas more often.
- The car feels weak when you push the gas pedal.
Parts That Get Leaks
Leaks often happen in these spots:
- Intake Manifold: Moves air to the engine’s cylinders.
- Vacuum Hoses: Tubes that carry air pressure.
- Gaskets and Seals: Stop air from escaping.
- Air-Fuel System: Mixes air and fuel for burning.
- Throttle Body: Controls how much air goes in.
- PCV Valve: Handles engine fumes.
- EGR Valve: Controls exhaust gases.
- Fuel Injector O-Rings: Small rings that seal fuel injectors.
- Intake Boots: Rubber parts connecting air intake parts.
If you ignore leaks, they can damage your engine over time.
How Do You Find a Vacuum Leak?
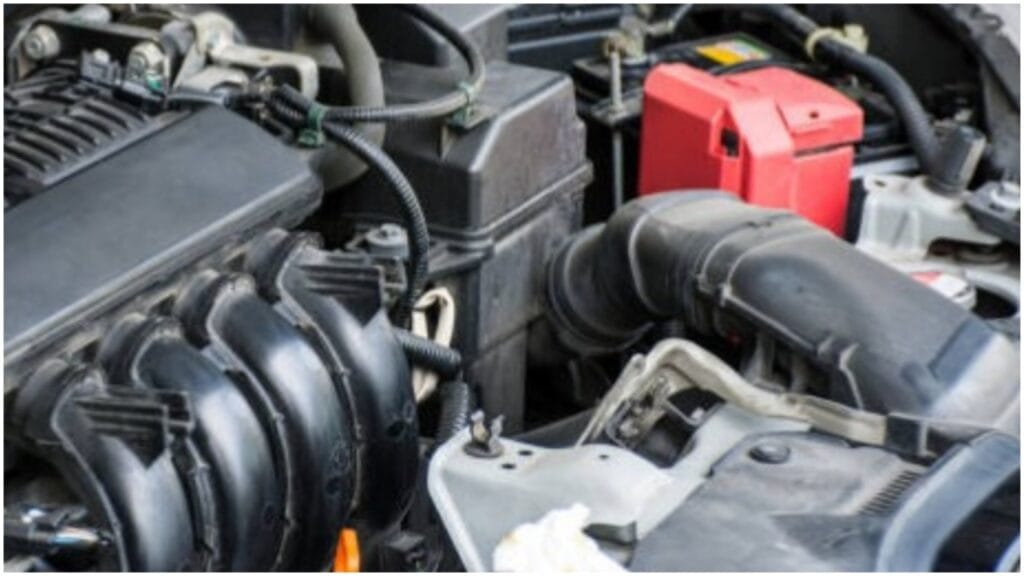
It's not always obvious. A vacuum leak often doesn't give you a "red flag" symptom like a flat tire or a smoking exhaust. It might appear as poor acceleration, a rough idle, or even a check engine light.
You have to find it here. The trick is to see where the air is sneaking in—and there's an easy way to do that: spray.
Why Use Spray to Find Leaks?
Spraying is a simple way to find vacuum leaks. You spray a liquid or gas near a possible leak. If the engine acts different, like speeding up or slowing down, you found the leak. It’s quick, doesn’t cost much, and you don’t need fancy tools. Anyone can try it, even if you’re new to fixing cars.
Why Spraying Helps
- It’s fast and takes only a few minutes.
- Sprays are cheap, unlike big machines.
- You don’t have to take the engine apart.
- It’s easy for people learning to fix cars.
Safe Sprays to Use
Some sprays work well and are safe. Others can harm your car. Here’s what you should use and what to avoid.
Safe Sprays
Carburetor Cleaner
- How It Works: This spray catches fire easily. If it goes into a leak, the engine’s speed changes.
- Good Brands: Try WD-40 Specialist Carb/Throttle Cleaner, Berryman B-12 Chemtool, or CRC Carb Cleaner.
- How to Use: Spray a little near hoses or gaskets while the engine runs. Listen for the engine to speed up or slow down.
- Cost: $5 to $10 for a can.
- Tip: Spray in small bursts to avoid too much liquid in the engine.
Soapy Water
- How It Works: Bubbles form where air leaks out.
- Good For: Parts with low pressure or when you want to see the leak.
- How to Use: Mix dish soap with water in a spray bottle. Spray a lot and watch for bubbles.
- Cost: Almost free, just use soap and water from home.
- Tip: Use a strong mix of soap for bigger bubbles.
Propane (Unlit Torch)
- How It Works: Adds gas to the air-fuel mix, which changes engine speed.
- Warning: Propane can start a fire. Use it only if you’re very careful. Never use near flames or sparks.
- How to Use: Use an unlit propane torch. Release a tiny bit of gas near hoses. Listen for engine changes.
- Cost: $10 to $20 for a small propane tank.
- Tip: Only use propane if you know how to handle it safely.
Sprays to Avoid
- Brake Cleaner: Too strong and can ruin hoses, gaskets, or plastic.
- WD-40: Doesn’t work for leaks and leaves a sticky mess.
- Paint or Non-Car Sprays: Can clog engine parts or cause damage.
- Gasoline: Very unsafe and can start a fire. Never use it.
Carb cleaner or soapy water are the best choices. Propane is only for people with experience.
What Can I Spray?
Let's discuss the sprays you can use to find those sneaky leaks. The most common and trusted options are:
Starter Fluid
Another option is starter fluid, which is a little more aggressive but works well in certain situations.
Like carburetor cleaner, starter fluid is flammable. When it encounters a vacuum leak, it can cause noticeable changes in engine performance. If you use a starter fluid, be extra careful to avoid starting any unwanted fires.
Water or Soap Solution
Some people use a more non-toxic, non-flammable approach: a simple soap and water mix sprayed onto the vacuum hoses and connections.
If you see bubbles forming, you've likely found a leak. While it's not as dramatic or quick as using carburetor cleaner, it's safer, especially for DIYers who may not be comfortable with flammable materials.
Specialized Leak Detector Spray
Sprays are designed to find vacuum leaks if you want something made for the job. They can often be purchased from auto parts stores and are generally safe to use on a car's engine.
The bonus here is that these sprays are made to show up as a more visible change when they hit a leak.
How Do You Apply the Spray?
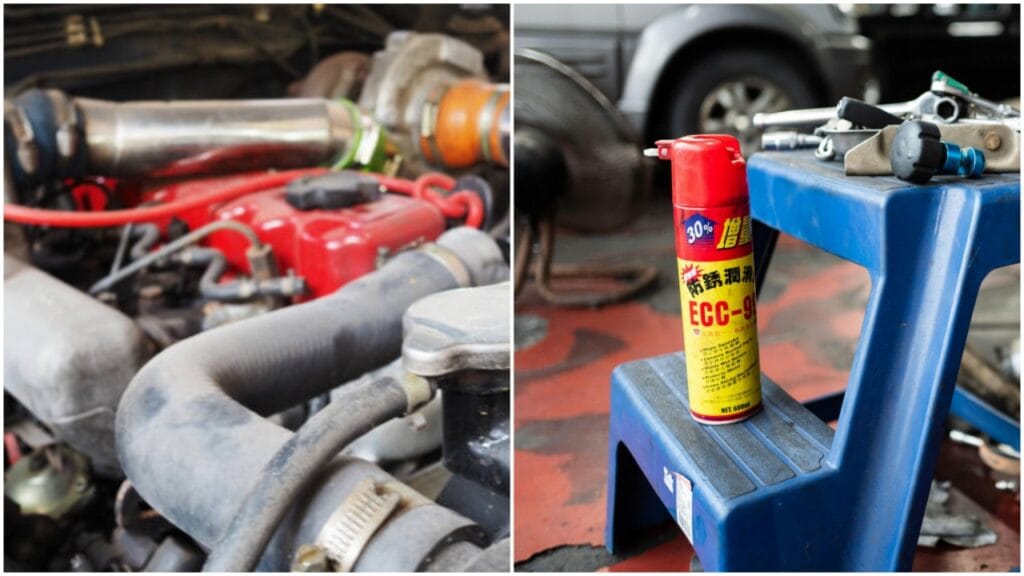
It's not as simple as just spraying everything you see. The key here is to be systematic and careful:
- Start the engine and let it warm up. A cold engine might give you false readings because the idle could be different than when the engine is thoroughly heated.
- Locate the vacuum lines. These rubber hoses carry air from the engine's intake manifold to various components like the brake booster, fuel pressure regulator, and PCV valve.
- Spray the cleaner or fluid around the hoses and connections, one section at a time. Be careful not to flood the area. It only takes a small amount to see a noticeable change.
- Watch for any changes in the engine's behavior. If the RPMs fluctuate, or you hear a slight change in the engine's noise or idle speed, you've found a leak.
Is It Really That Simple?
Yes and no. The spray method works great for finding apparent leaks, but it's not foolproof. Some leaks are tiny or in hard-to-reach spots. Using the spray doesn't necessarily fix the leak—it just points you in the right direction.
Once you've identified the problem area, you'll need to fix it, whether replacing a hose, tightening a connection, or swapping out a faulty gasket.
Vacuum Leak Repair Cost
Now, the million-dollar question: How much will this cost me? The cost of fixing a vacuum leak varies depending on the severity of the leak and where it's located. Here's a rough breakdown:
DIY Fix
If you find the leak yourself, like a cracked hose or a loose connection, you can fix it for less than $20.
Replacement clamps are usually inexpensive, and you can do the job yourself without hassle. This is your cheapest option if you're handy with a wrench and a screwdriver.
Mechanic Repairs
If you'd prefer to leave the work to the professionals, the labor will cost you. Mechanic labor rates can range widely depending on where you live, but you can expect to pay anywhere from $75 to $150 per hour.
In addition to labor, you'll need to pay for any parts that need replacing. In some cases, vacuum leaks are located in hard-to-reach places, and fixing them could take longer, bumping up the cost.
Specialty Repairs
The cost can rise significantly if the leak is related to a more complex component, such as the intake manifold or PCV valve.
Replacing intake manifolds or gaskets can cost between $300 and $600, including parts and labor.
Getting some estimates before committing to a repair is always a good idea.
Preventing Future Leaks
Once your vacuum leak is repaired, you might wonder how to prevent it from happening again. Regular maintenance is key.
Check your hoses periodically for cracks, splits, or signs of wear. Also, keep your engine bay clean and clear of debris. A clean engine is less likely to have undetected leaks.
Conclusion
Finding a vacuum leak doesn't have to be a huge hassle. With a can of spray and a little know-how, you can track the issue without breaking the bank.
And if you need to pay a mechanic to fix it, it won't usually be as expensive as some other repairs, whether you're a seasoned DIYer or just trying to keep your car running smoothly.
FAQ's
To check for vacuum leaks with soapy water, spray it on hoses and connections; bubbles forming indicate a leak.
To check for vacuum leaks with WD-40, spray it near hoses and connections while the engine runs; a change in idle speed suggests a leak.
Chevy transmission vacuum leak symptoms include rough idle, poor shifting, stalling, or a hissing sound—often caused by cracked hoses or loose connections affecting modulator valve pressure.

Gerry is a certified automotive expert and founder of AutomotiveAH.com, specializing in vehicle maintenance, diagnostics, and engine systems, delivering trusted, research – driven automotive guidance.