

Finding the best sealant for a valve cover gasket depends on your needs, but RTV silicone sealants are a top choice. RTV stands for "Room Temperature Vulcanizing," meaning it cures quickly and seals tightly.
It's heat-resistant, oil-proof, and creates a strong bond, making it ideal for engine parts. One reliable option is Permatex Ultra Black or Ultra Grey. These sealants are designed to handle high temperatures and resist oil exposure, ensuring your valve cover stays leak-free. Let's know more about it.

Permatex 81158 Black Silicone Adhesive Sealant, 3 oz. Tube, Pack of 1
Why Use Sealant with a Valve Cover Gasket?
Gaskets alone often fail on uneven surfaces. Sealants fill micro-gaps for a no-leak seal. They're essential for valve cover gasket leaks causing rough idle.
Top Sealant Types
- RTV Silicone: Flexible, heat-resistant (up to 650°F), oil-proof. Best for most valve covers.
- Anaerobic: Cures without air on metal-to-metal. Use hybrids for versatility.
- My Pick: Permatex 85084-6PK Ultra Grey RTV - no shrink, high torque.
Match type to your engine and valve cover material.
Choosing Your Ally
Some sealants are suitable for a valve cover gasket. Silicone-based options, especially RTV (Room Temperature Vulcanizing) sealants, are the best. They're flexible, heat-resistant, and stick like glue - but not severely.
Then there are anaerobic sealants. These are perfect for metal-to-metal surfaces but might not be ideal for all valve covers. Some brands make hybrids, which blend the best of both worlds.
The type you choose depends on your engine and the material your valve cover is made from.
My Personal Favorite
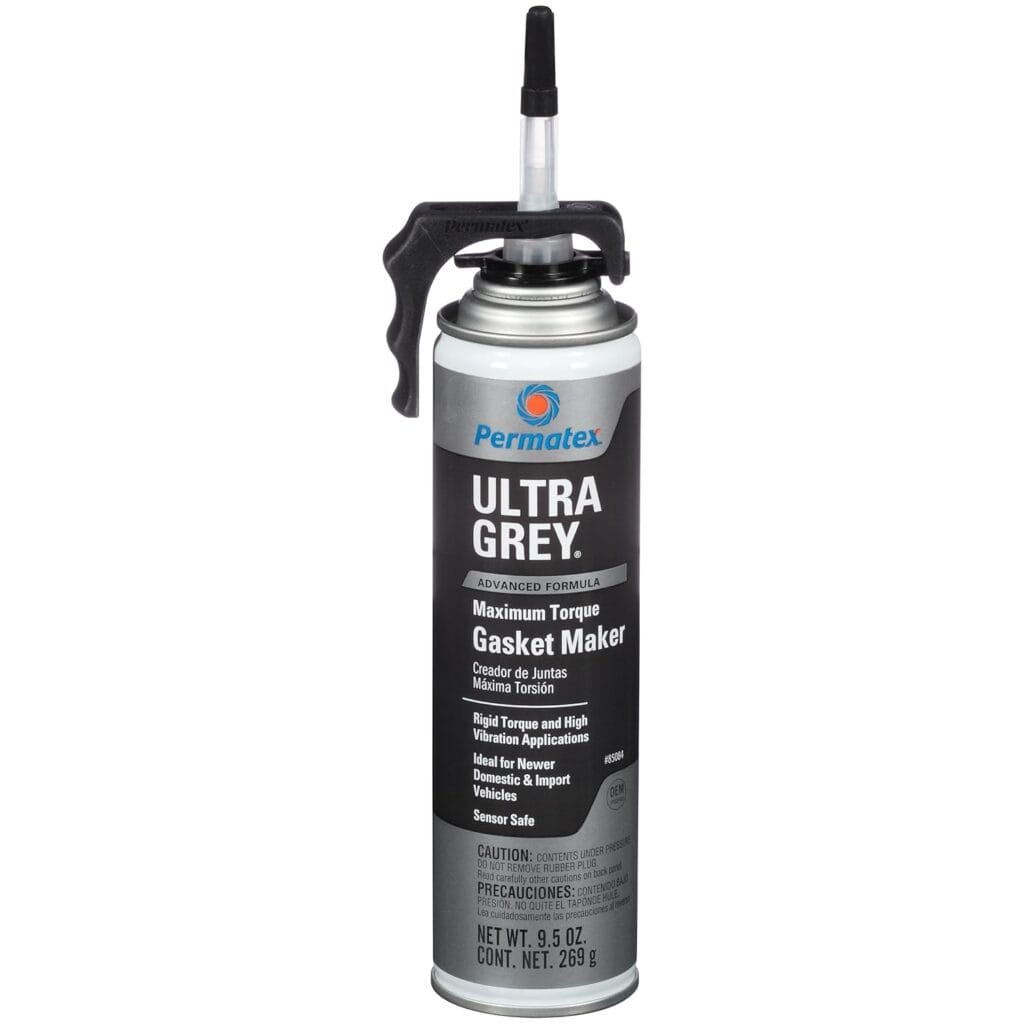
If I had to pick one, it'd be Permatex 85084-6PK Ultra Grey Rigid High-Torque RTV Silicone Gasket Maker. It's oil-resistant, can handle high temperatures, and doesn't shrink.
The Prep Work Is the Key
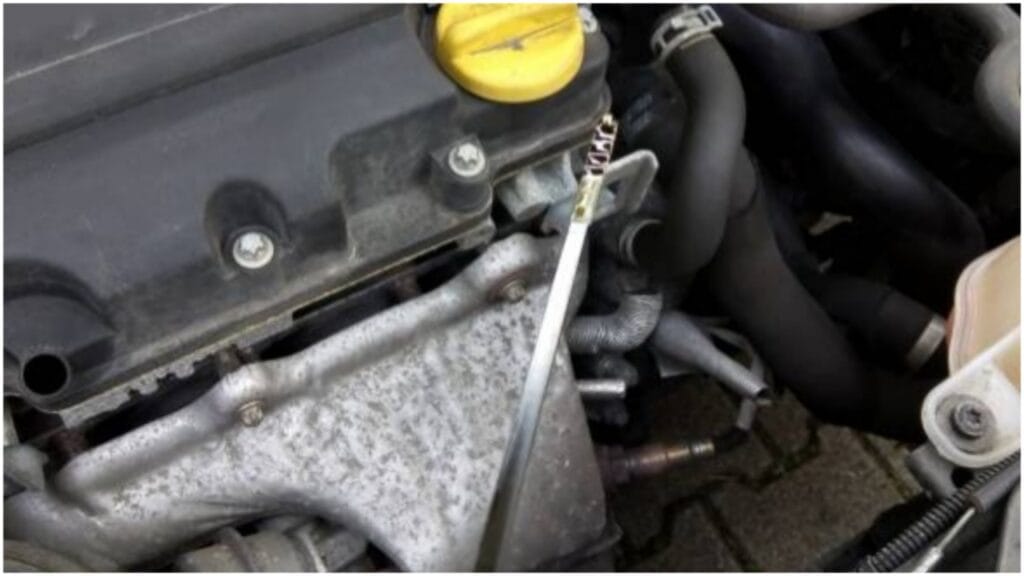
A clean surface is your best friend here. Any remaining oil, grime, or old gasket material can cause further damage.
I like to use a degreaser to clean the mating surfaces. Brake cleaner also works, but make sure everything’s dry before applying the sealant.
Speaking of old gasket material, don’t rush the scraping part. Use a plastic scraper to avoid scratching the metal.
Applying Sealant: The Right Way
A thin, even bead along the edge of the valve cover does the trick. Too much and excess squeezing will occur, which can damage the engine.
Suppose you’re using RTV; skin over it for a few minutes before pressing the gasket into place. Some sealants require longer curing times, so always check the instructions.
And don’t tighten the bolts just yet! Most sealants need time to cure before you torque things down.
- Run a thin bead along the valve cover edge.
- Let RTV skin over (5-10 min).
- Install gasket, torque bolts crisscross in stages - use a torque wrench to avoid warping the valve cover.
Wait 24 hours for full cure, even if labels say less.
Common Mistakes to Skip
- Over-applying sealant (causes squeeze-out).
- Dirty surfaces.
- Rushing cure time.
- Uneven bolting.
Torquing Down the Cover
Speaking of torque, precision matters here. Overtightening can distort the gasket or damage the valve cover. I like to use a torque wrench for this.
It might seem excessive, but it ensures you’re not putting too much pressure on one side. Tighten in a crisscross pattern to distribute the load evenly.
Waiting Game
Sealants need time to cure fully before they’re exposed to oil or heat. I usually wait 24 hours, even if the packaging says it’s good to go in a few hours. It’s just a precaution, but it’s served me well.
Testing the Waters
Once everything’s cured and tightened, it’s time to start the engine. Watch for leaks, and don’t panic if you first see a tiny bit of oil. Sometimes, it’s just residue from the old gasket. Wipe it clean and keep monitoring.
Common Pitfalls to Avoid
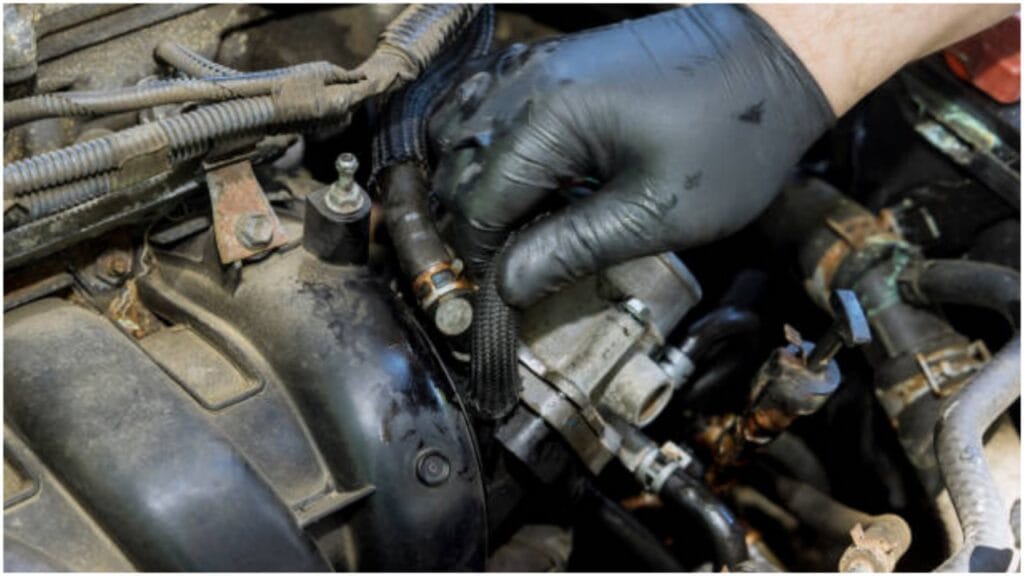
Here’s a quick rundown of mistakes I’ve made, so you don’t have to:
- Using too much sealant. Less is more.
- Skipping the cleaning step. Always start with a spotless surface.
- Ignoring cure times. Rushing this step can undo all your hard work.
- Tightening bolts unevenly. Precision is key here.
Compatibility Is Key
Not all engines are created equal. Some need specific sealants to match their unique quirks. It’s not just about temperature resistance, though that’s a big deal. It’s also about chemical compatibility.
For instance, oil-resistant sealants are necessary for any job involving valve covers. Oil will quickly break down a standard adhesive, leaving an even worse leak.
Knowing When To Skip It
Not every valve cover gasket needs a sealant. Some modern engines use gaskets designed to work without it.
These are typically made of advanced materials like rubber or metal and have built-in ridges that automatically create a tight seal.
Adding sealant here could backfire, causing uneven pressure or unwanted residue.
Sealants for Different Materials
Did you know that the material of your valve cover affects the type of sealant you should use?
Metal valve covers, for example, often work best with high-temperature RTVs, like copper or aluminum-colored formulas.
Plastic valve covers, on the other hand, are more forgiving but still need something flexible and heat-resistant.
Material and Color Guide
| Valve Cover Material | Best Sealant Color/Type |
|---|---|
| Metal (Aluminum) | Grey RTV |
| Plastic | Black RTV |
| High-Heat/Turbo | Red or Copper RTV |
Blue for sensors. Check oil/heat resistance.
The Right Tools for the Job
A good sealant application isn’t just about the product and the tools you use. They let you control the bead size and reach into tricky corners.
A simple popsicle stick can also work wonders for spreading and smoothing sealant evenly.
Temperature Extremes
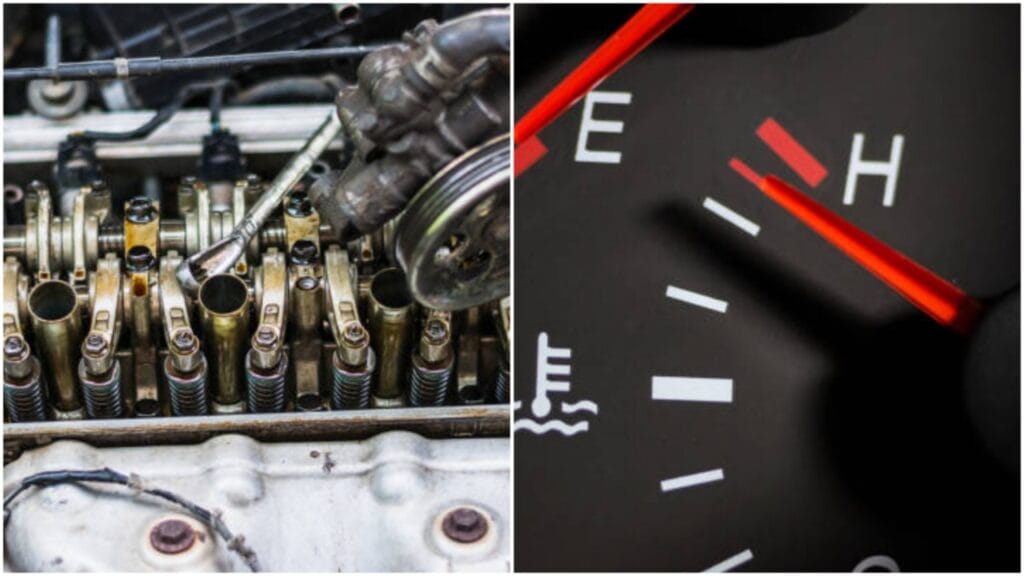
Engines run hot, no doubt about it. But how hot it is depends on the make and model. Some sealants handle extreme temperatures better than others.
If you're dealing with a high-performance or turbocharged engine, you'll want a sealant rated for higher temps.
Overlooked Areas
Everyone focuses on the edges, but don't forget the valve cover's corners and curves. When leaks appear, these spots are the usual suspects.
I always add a tiny dab of sealant in these trouble zones, even if the gasket looks snug. It's a small step that prevents big problems later.
The Role of Sealant in Preventing Engine Damage
Bad oil doesn't just stain your driveway - it can seriously damage your engine. Oil dripping onto components like alternators or belts can shorten their lifespan.
Worse, oil pooling near the exhaust manifold can pose a fire risk. Using the proper sealant isn't just about stopping leaks; it's about safeguarding the health of your engine. Plays many vital roles.
When Heat and Pressure Combine
Engines are like pressure cookers, constantly cycling through heat and force. Without the proper sealant, even the best valve cover gasket can fail.
I've noticed this, especially in older vehicles where parts aren't as perfectly machined—the sealant cushions absorb the stresses that would otherwise cause leaks.
Don't Forget the Bolt Holes
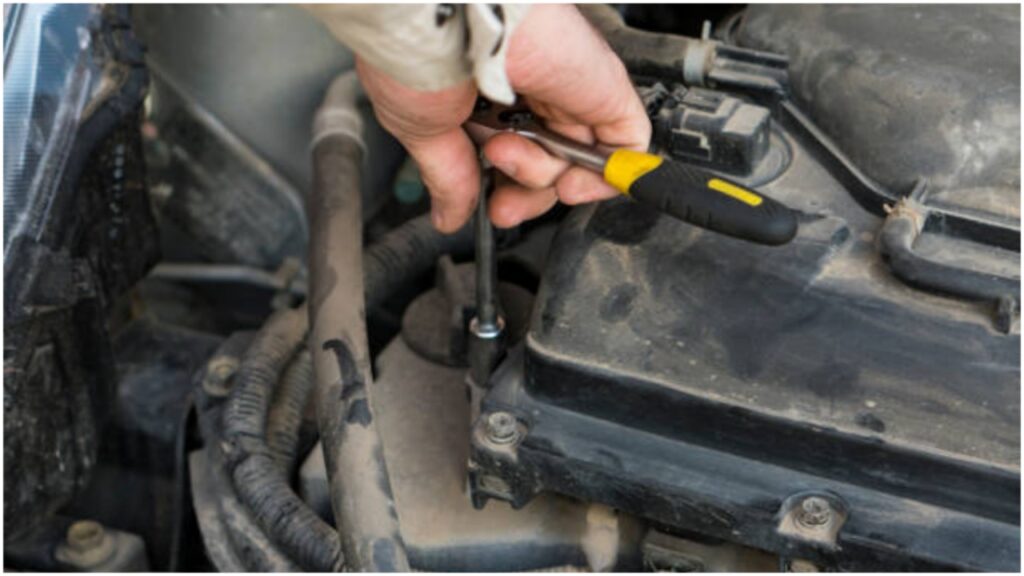
It's easy to focus on the edges of the valve cover gasket, but those bolt holes can be sneaky culprits. If they aren't sealed properly, oil can seep out through the threads.
I always apply a tiny dab of sealant to the bolt threads before tightening them down. It's a simple step, but it makes a world of difference.
DIY or Let the Pros Handle It
Putting sealant on your valve cover gasket may look hard, but it is not. You only need a few tools, clean hands, and a little time. Take your time to spread the sealant evenly so it seals well.
If the leak is in a tight or hidden place, or if oil drips fast even after using new sealant, then it is better to ask a car mechanic for help. They have tools to find and fix deeper engine problems.
Choosing the Right Color
Sealants come in many colors, and each one does a special job.
- Black: Good for most engines and daily use.
- Red: For hot parts that deal with high heat.
- Grey: Good for aluminum engine parts.
- Copper: For very hot areas like near exhaust pipes.
- Blue: Often used for sensors and light engine work.
Always check the product label to make sure it can handle engine oil and heat. Using the right color keeps the gasket strong and stops oil from leaking longer.
How Humidity Affects Sealants
Moist air slows down how fast sealant dries. Too much water in the air can make it weak.
Work on the car in a dry place if you can. You can use a fan to move air or let the engine stay in a warm garage while the sealant cures.
Most sealants need 24 hours to dry fully before starting the engine again. Waiting helps the seal bond the gasket tightly and last longer.
Extra Tips for Best Results
- Store leftover sealant in a cool, dry spot with the cap tightly closed.
- Clean both the gasket and valve cover before using the sealant.
- Do not use too much. A thin, even line works best.
- Follow the maker’s steps for drying time.
Checking for Compatibility with Other Fluids
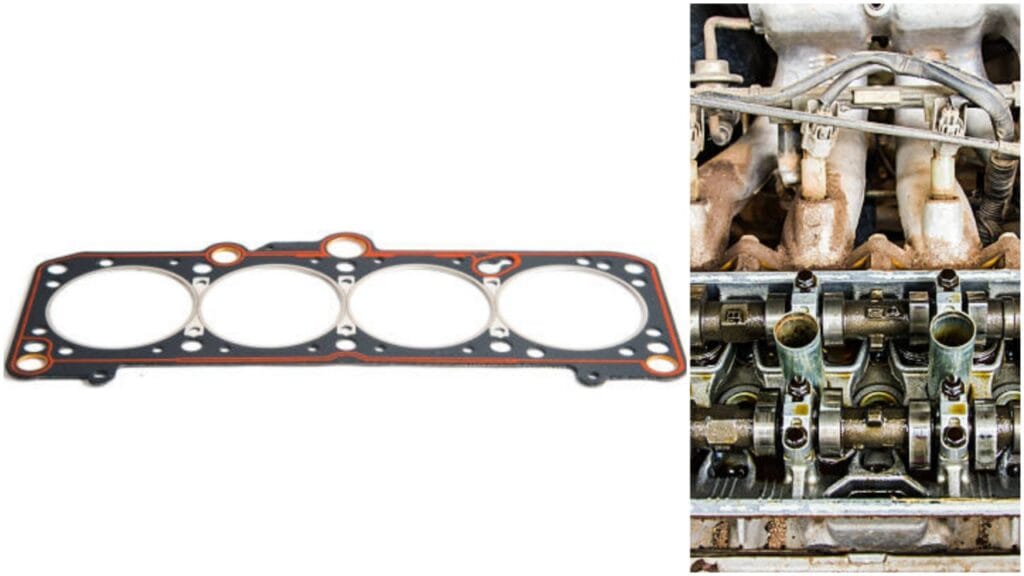
RTV silicone sealants for valve cover gaskets excel in resisting engine oil, a primary exposure in this area. Many also handle coolant, antifreeze, water, and transmission fluid without degrading.
Key Fluid Resistances
Top RTV options like Permatex Ultra Black and Ultra Grey provide strong protection against oil and high temperatures up to 650°F. They resist weathering, ozone, and UV too, preventing cracks from thermal cycles.
Avoid non-oil-resistant adhesives, as engine oil breaks them down fast. For fuel or harsh chemicals near valves, Viton-based seals offer superior resistance over EPDM.
Compatibility Check Tips
Always verify product labels for your engine's fluids to avoid swelling or leaks. Test in dry conditions first for best results.
Sealant's Lifespan
Reapply every few years. Store sealed in cool, dry spots.
Seal your valve cover gasket right, and your engine stays clean. Got a specific engine or more details to tweak this?
Conclusion
Fixing a valve cover gasket isn't rocket science but requires attention to detail. The proper sealant can make all the difference, turning a leaky mess into a reliable seal.
Whether you're a seasoned mechanic or a weekend DIYer, taking the time to do it right will save you a ton of headaches down the road.
With the proper sealant, a steady hand, and patience, that engine will run clean quickly.
Let me know if you need more ideas or want me to expand on anything else!
FAQ's
The best sealant for a rocker cover gasket is RTV silicone or gasket maker. It seals leaks, resists oil, and fits metal and rubber surfaces. Apply a thin layer for best results.
Valve cover gasket silicone should be RTV type, such as Permatex Ultra Black. It seals leaks, resists oil and heat, and fits engine surfaces. Apply thinly, especially on corners.
For valve cover gasket replacement, use RTV silicone sealant like Permatex Ultra Black or Ultra Grey. Apply only at corners or where manufacturer suggests. Always clean surfaces before applying sealant.
The best gasket sealer for valve covers is Permatex Ultra Black or Ultra Grey RTV silicone. They resist oil and heat, bond well, and prevent leaks at corners or problem spots.
Valve cover gasket sealant is usually RTV silicone, like Permatex Ultra Black or Ultra Grey. It seals leaks, resists high heat and oil, and is applied thinly at gasket corners.
For valve covers, use an RTV silicone gasket maker such as Permatex Ultra Black or Ultra Grey. It resists oil, heat, and seals tightly. Apply thinly, especially on gasket corners.
Fel-Pro valve cover gaskets are installed with the gasket pressed straight down into the valve cover groove. Usually, no side is “up.” Start by laying the gasket on the cover to confirm orientation. Fel-Pro gaskets install clean and dry without sealant except small RTV dabs at corners if needed.
The best valve cover gasket sealant is Permatex Ultra Black RTV silicone. It offers excellent oil resistance, heat tolerance, and flexibility. Apply sparingly at gasket corners and surfaces for a leak-free seal.
Use RTV silicone like Permatex Ultra Black for valve cover gaskets.
Clean surfaces well before applying sealant.
Apply a thin, even bead only at corners and gaps.
Install gasket quickly within 5 minutes.
Tighten bolts in a crisscross pattern, finger tight first, then torque to specs.
Let sealant cure 24 hours before running the engine.
Avoid overuse to prevent leaks or gasket damage.
Use high-temp RTV for hot engine parts.
Always follow product instructions for best sealing results.

Gerry is a certified automotive expert and founder of AutomotiveAH.com, specializing in vehicle maintenance, diagnostics, and engine systems, delivering trusted, research – driven automotive guidance.